Technique Tuesday: How to Turnout

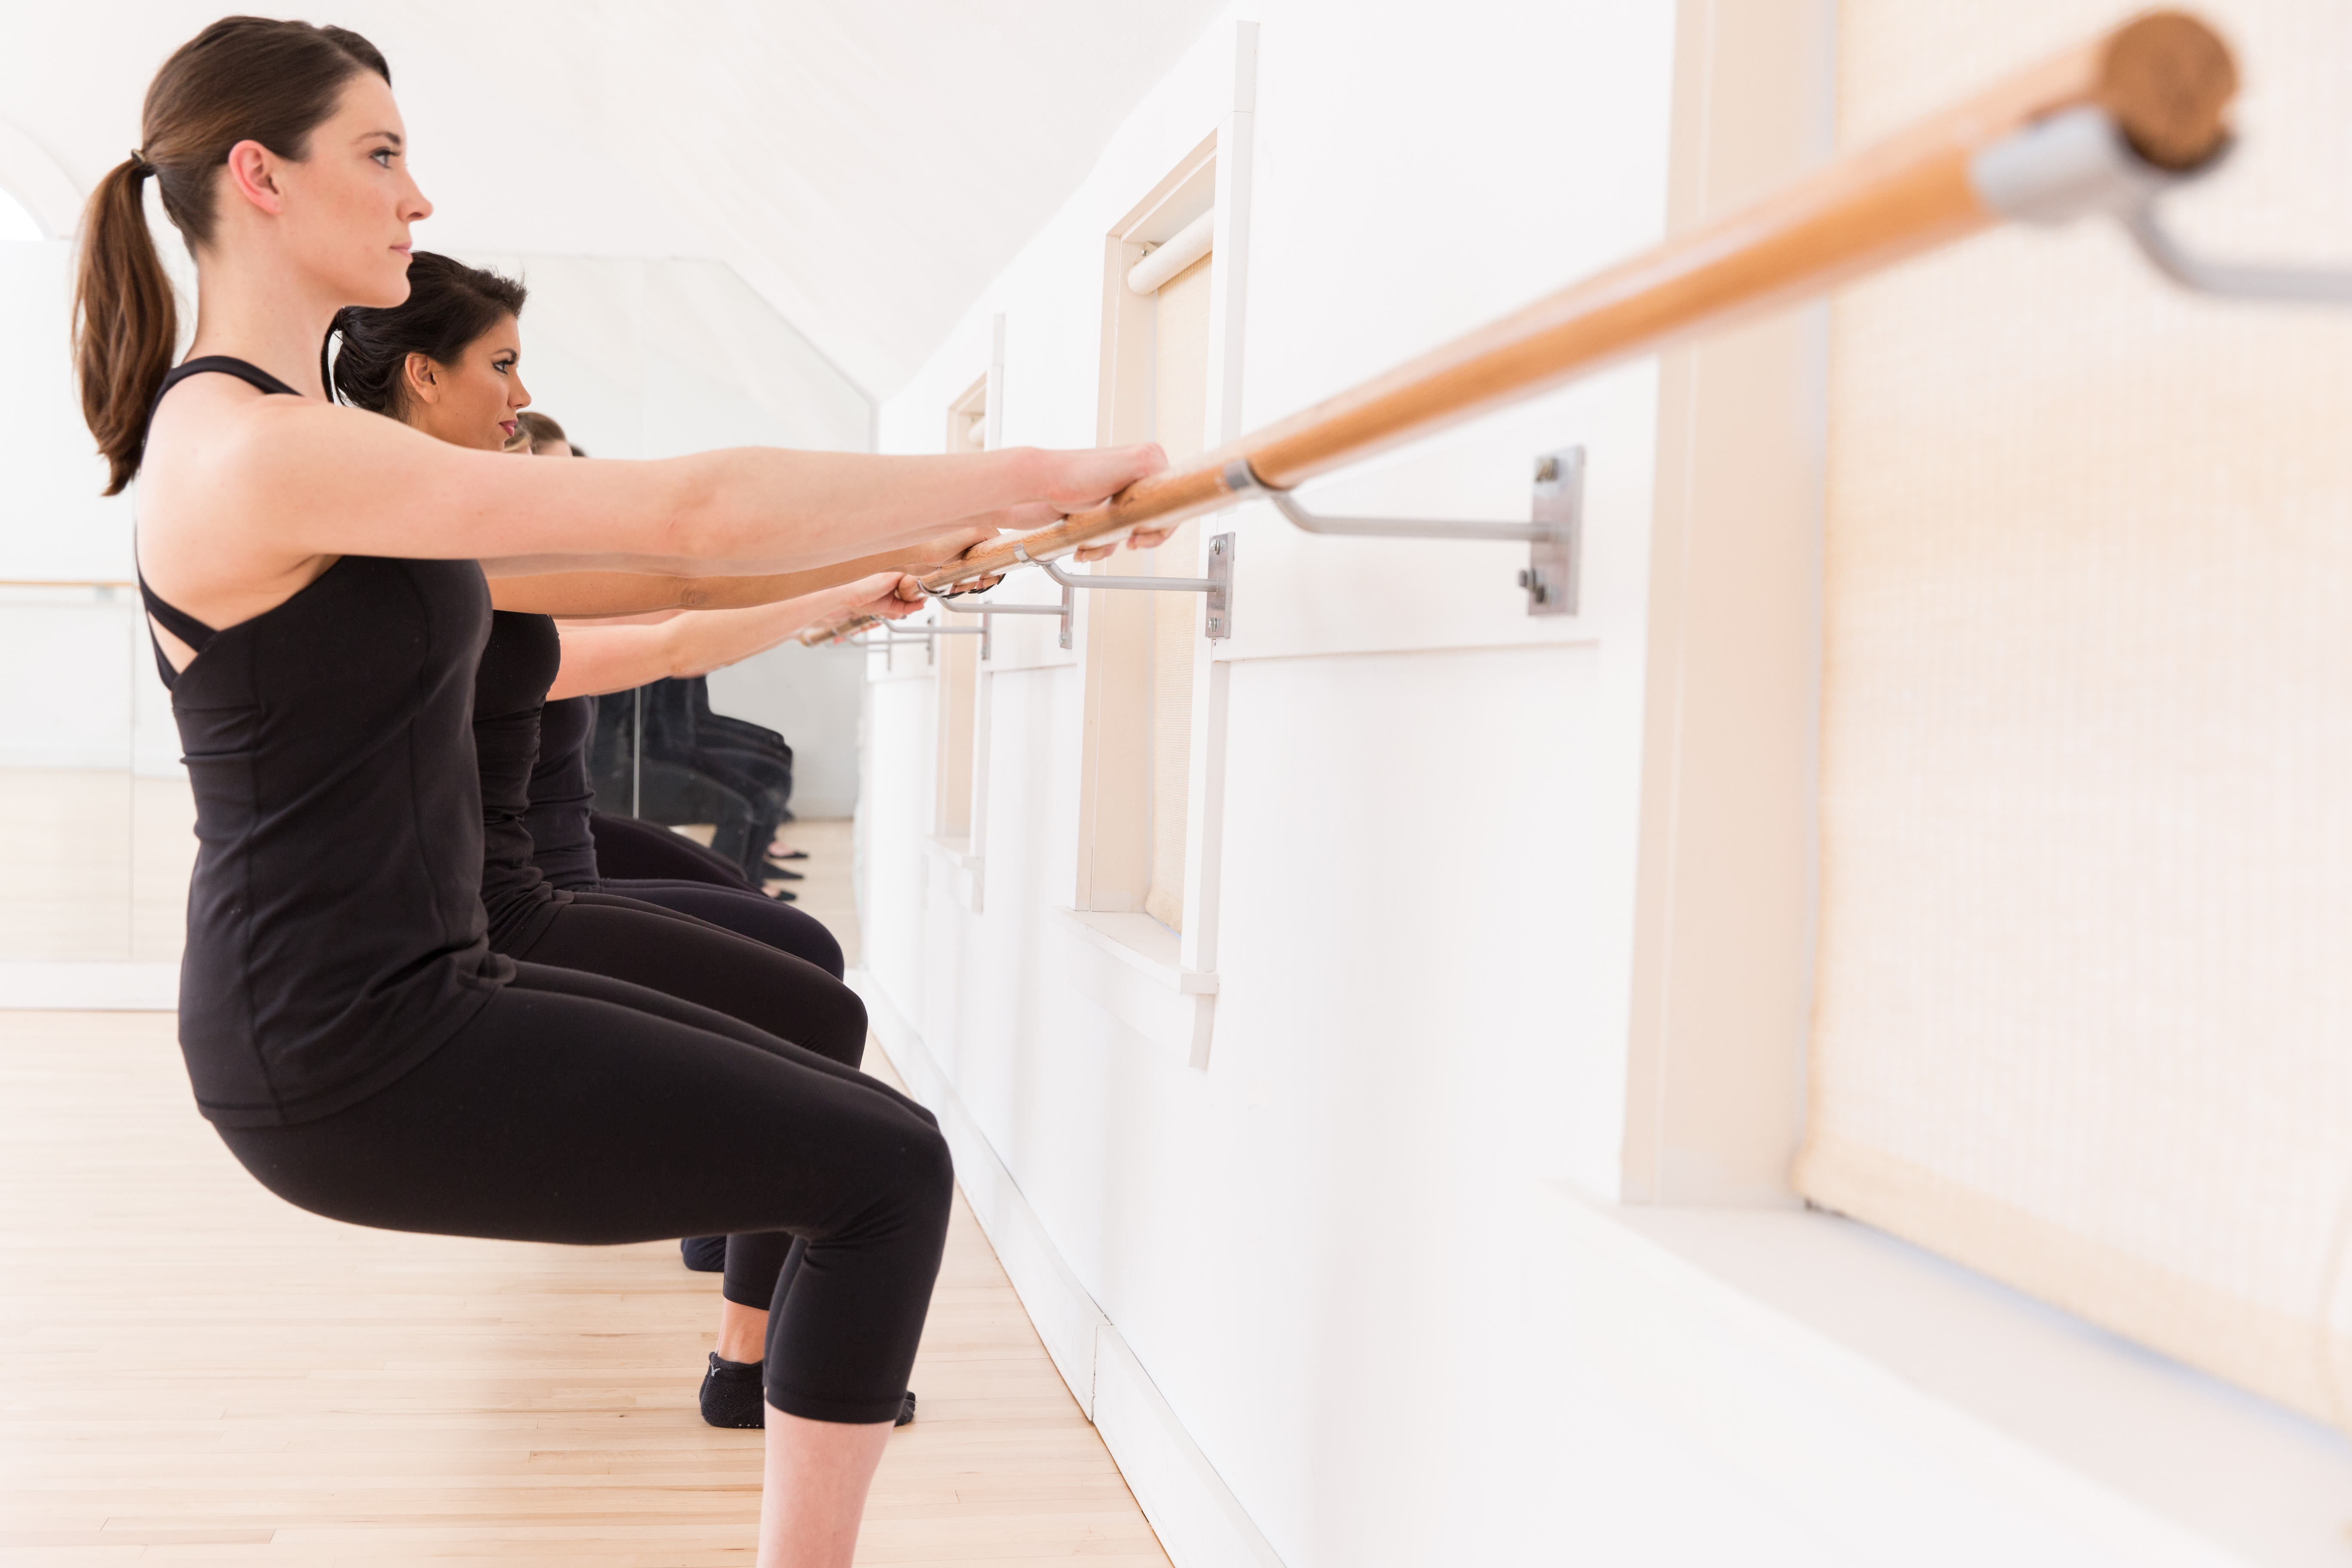
This week we’re diving into the dance roots of barre class and discussing what it means to be “turned out” or in a turnout position. In class when we stand in first or second position, we are in turnout. In first position you might hear your instructor say “heels together, toes apart in a V” or “stand like a slice of pizza could fit between your feet!” When in turnout, there are a few more things to think about besides your feet though. If you google “turnout” you’ll find this definition:

In ballet, turnout is a rotation of the leg that comes from the hips, causing the knee and foot to turn outward, away from the center of the body. This rotation allows for greater extension of the leg, especially when raising it to the side and rear. Turnout is essential to classical ballet technique and is the basis on which all ballet movement follows.

Turnout is also the basis of many ballet inspired barre movements including pliés and kicks (or grand battements). If you’ve never danced before it may not feel natural to stand in turnout at first and that is normal. It is important to work within your natural turnout. If you try to turn out your feet into too wide of a “V” shape , you might notice your knees bend or find it harder to stand with straight legs. If that happens, simply make your “V” a bit more narrow. You’ll notice in time that your natural turnout will improve as your hip strength improves. Many of the exercises dancers do to improve turnout are incorporated in barre class to strengthen and stretch your leg and seat muscles!

You might be wondering why turnout is incorporated in a barre class at all – we are trying to get fit not become ballerinas right?! Well, have you ever seen a ballerina’s body? Turnout helps work leg muscles that are otherwise harder to target. If you are doing a thigh exercise in turnout, the inner and outer thigh parts are more engaged. When working your seat in a turnout position, you’re using the outer seat and hip muscles. Remember to embrace the shake and squeeze tight to taper that side seat!

Here are a few things to remember when in turnout:

  • Your feet and legs are turned out the same, no matter how far that may be.
  • Your knees are pointed in the same direction as your toes (For example: When you plié in first or second position, you want your knees to bend straight over your 1st and 2nd toes.)
  • Your pelvis is straight up and down in a neutral spine, not sticking out, when standing.

Still have questions when your instructor says “keep your legs turned out”? Don’t be shy! Ask after class and we’ll have you feeling more comfortable in no time!

Technique Tuesday: What is a tuck?

The TUCK. A tiny movement that can make all the difference in barre class. Hearing the word “tuck” can either cue you on your way to toned abs, a tight seat, and improved posture, or leave you with a look of sheer confusion. You’ll hear “tuck” probably a dozen times during any barre class along with a few other terms you may have never heard before. Whether you have no idea what it means to tuck, or are confused by what it does or is supposed to do, this blog post is for you!

The tuck is an adjustment of the position of your hips, abs, and spine. It is sometimes cued to the class by saying “neutral spine,” “heavy tailbone,” “tuck your pelvis under,” or “pelvic tilt.” Naturally many people arch their spine. The goal of the tuck is to remove the natural arch in your lower back until you find a neutral spine and body alignment. The position is found by rolling your hips forward while engaging your abdominal muscles. Shoulders should be directly over hips. This movement is small – almost invisible – and doesn’t come naturally. Each class you’ll have to work towards finding the position and it is important to ask for help if something doesn’t feel right.

The tuck is usually the default start position for every exercise in barre class. The tuck can also be used as an exercise on its own, where you repeatedly engage the muscles with tiny pulses, or combined with other moves. For example during a chair pose, you might be told to tuck to the beat to keep your core engaged or tuck and lift your heels alternatively. The tuck makes the chair pose more challenging. It is important to find the correct positioning first and then focus on the tuck movement with control and precision. If you aren’t feeling the muscles start to fire up, take a second to realign.

5D8A2040-Edit

Once you master the tuck the benefits are endless! A lifted booty, strong abs and good posture are just the beginning. Strengthening your pelvic floor helps prevent injuries outside of class, in other workouts and in life!

A tuck is an example of an isometric movement, or a muscle contraction where the muscle tenses while not changing length. Think about basically humping the air. While it may seem weird, rest assured knowing everyone in class will be doing the same movement, feeling the same burn and probably shaking. If you are concentrating and performing the exercise correctly, there isn’t any time to look at anyone else in class!

As always you should stop if you feel discomfort or have any pelvis or low-back issues. Ask questions instead of pushing through in pain. It is important to watch the alignment and not roll the hips under too deeply. Think about truly engaging the core next time you hear the work “tuck” and watch your barre form transform! Remember to always stretch thoroughly after any barre class.


Technique Tuesday: 7 Barre Class Mistakes You May Be Making (And How to Fix Them)

Anyone subscribe to the Well + Good newsletter? It is a daily email full of the latest fitness trends, healthy recipes and articles about popular workouts. I recently saw a great article about the top 7 mistakes you might be making in barre class – and how to fix them. These mistakes aren’t hard to fix but the benefits of fixing them go far beyond preventing injuries. If your form is off the workout can also be less efficient and effective, so you may not get the results you want!

5D8A2040-Edit

Tanya Becker, who was trained at the original Lotte Berk barre studio, explains the 7 mistakes and how to fix them below:

1. Gripping, or “white knuckling,” the barre during thigh work

Holding on tight is not going to save you. “In general, if you’re gripping the barre, you’re [using] your forearms and shoulders, creating tension that doesn’t serve the movement,” says Becker. So while it may work your biceps, “you’re taking some of the work out of your core or glutes or tops of thighs that you actually want to delegate to,” and that’s what you came for, right?

2. Pushing your abs out during core work

During Pilates-based ab work, especially when you’re curling forward, Becker says people have a tendency to push the abdominal wall out instead of engaging it properly. “There’s can sometimes be a moment when clients are getting tired and instead of feeling like the abs are pressing down, it feels like they’re pushing up a bit. You want to lengthen down into the abs,” she explains. Check yourself by simply looking down at your belly and observing.

3. Wearing the wrong socks

It turns out studios are not selling those grippy socks just so you’ll promote the brand via the soles of your feet. They help provide stability and correct form. Physique uses carpet but some studios have wood floors. Either way, if your feet are sliding, says Becker, you’ll likely end up in the wrong position, with your hips placed improperly or your knees too far forward. In addition to P57 cute ones, Becker also likes Reebok’s True Studio Slippers for this.

4. Holding your breath

“We tend to hold our breath when things get challenging,” Becker says. Instead, focus on deep breathing especially in the most intense moments, and it will boost your energy and help you push further.

5. Using weights that are too light

Barre studios have different takes on weights. At one, your instructor may suggest one to three pounds, whereas Physique may have you go as high as eight or ten. But Becker says no matter the class, you should choose weights that push you outside of your comfort zone, so the workout continues to challenge you, which will lead to better results. “If you want to make the jump, play around with it,” she advises, saying you can always grab a couple of different sets, start with the heavy, and drop down if it becomes too intense.

6. Skipping stretch time

Depending on the class you take, stretching may be incorporated throughout, but if there’s a segment to really go deep at the end, you should really make the time to stick around for it. Lotte Berk, in fact, Becker remembers, would lock the doors of her famous studio and not allow clients to leave without finishing their hamstring stretches. Of course, she’s not suggesting that now and understands that you’ve got to get to work, but it’s crucial for your muscles and also your state of mind. “It’s like dessert. Why would you want to miss dessert?” she says. “You’re going to be way more relaxed and ready to take on the rest of your day.”

7. Worrying about people watching (and judging!) you

“It’s a mistake to think everyone is looking at you,” Becker promises, even though most can probably relate to the feeling. “It feels that way, but my experience is if you’re in a tough workout, everyone is just trying to survive.” The class is supposed to be difficult and is designed to overload your muscles, she says, so if you’re constantly trying to look good or complete every rep to keep up with the person next to you, it’s going to mess with your form and ability to push yourself out of your comfort zone. Remember, she says, “the instructor and most of the others are rooting for you.”

Try to keep these 7 mistakes in mind next class! See you at the barre!

Cheers, Michelle

Breaking Down Barre Class Vocab

In anticipation of our “Breaking down the barre” class Saturday, I wanted to use this Technique Tuesday to share a few common terms you’ll hear during a barre class. While barre is ballet based, you don’t need a background in ballet or french to understand a class or get a great workout! I love this workout because anyone, regardless of age or fitness level, can modify the class to their liking and ability and work towards their personal goals. Town Barre only started about two and a half months ago, but I’m already seeing amazing improvements in clients that have been with me since the beginning and have never taken a dance class! Here are a few terms you’ll hear me say every class and don’t worry, after a few classes you’ll know exactly what I am talking about!

  • First position: In first position our heels are together and toes are apart. We are standing tall so that our back is straight from the top of our head to our tailbone. We are opening up our feet from the hips – not the knees – and our legs are glued together. It should look like there are about two slices of pizza between your toes.
  • Second position: From first position we slide our heels apart on either side until feet are about shoulder width apart. Legs and feet are still turned out from the hip. Knees should be over the first and second toes when you bend your knees in this position.
  • Turn out: I’ve mentioned it above but lets dive deeper. “Turning out” refers to the entire leg, not just the feet. In first (or second) position while your heels are touching and toes are pointed in diagonals, you’ll want to turn out by rotating your legs to the side as much as possible. This rotation starts at the hips and continues through the toes.
  • Point: You’ll hear me constantly say “point your toes!” Feet should always be working to hold that point,  trying to never relax or flex the feet unless otherwise noted. A nice, straight leg in most moves isn’t complete without a pointed foot. When we brush our feet against the floor from our “first position” to kick, the foot should be pointed from the time it brushes off the floor until the time it comes back to first position.
  • Plié: The word literally translates to “bent.” You will usually plié in first and second position during class. Think about bending your knees straight down while keeping your back posture straight, so you don’t hinge the body forward. This ensures you are only working the leg muscles when we plié. A “demi plié” means “half bent,” so a smaller plié and “grand plié” is a “big plié,” or deeper knee bend.
  • Relevé: Translates to “raised.” To relevé, simply raise your heels off the floor.
  • Arabesque: In arabesque we are balancing on one leg (with one hand on the barre to help with balance). In this position, one leg extends straight behind you and can be touching the floor or at 45 or 90 degrees depending on the exercise. A few tips in arabesque are to keep your chest lifted and the extended leg’s foot pointed.
  • Tuck: This is not a ballet term, but rather a barre class term that helps people remember not to stick out their booty. “Tuck” means to rotate your booty under your hips, so your spine is neutral and making a straight line. Your booty and lower ab muscles are also engaged in this position.

    These ladies are in first position, on relevé, in plié!
    These ladies are in first position, on relevé, in plié!

Want me to break down these terms in-person? Join us this Saturday at 10:00am. We’ll spend extra time between each move to talk about positioning, form and technique. Reserve your spot here.

plie

Barre is a rewarding, fun workout but, it definitely takes a few classes to get used to. You don’t see anyone plié at Planet Fitness – and that is ok – squats are great too! It is amazing how beneficial stepping out of your workout comfort zone can be for your body.

Have any questions? Contact me at info@townbarre.com or 781-507-1037.

Cheers, Michelle

Technique Tuesday: Working with the Flex Band

Technique Tuesday: Two Tuesdays a month we’ll be sharing tips and photos to help you perfect your barre form. Our first “Technique Tuesday” will explain what you need to know to work with a Pilates flex band. The band is used in our “Barre Mix” class for arms, ab, back and flexibility work.

What band to use:

The green band has more resistance than the yellow band.

IMG_2984

For beginners, it is suggested to start using yellow for arms, green for abs and yellow for back and flexibility. Green is best for the abs section because the increased resistance takes some work away from your ab muscles making it easier to perform the exercises. Each class both bands will be set up at the barre for everyone so it is easy to switch back and forth between colors as you get stronger!

Starting position:

It is best to start every exercise (besides our flexibility work) with a little resistance on the band. That means the band will always start straight, not loose, unless otherwise told. This ensures you are still engaging your muscles to keep the band straight in the starting position and in between reps.

DON'T
DON’T
DO
DO

Another important tip to remember is to always have the band in line with the knot, unless otherwise told. After each exercise recheck that the band’s placement is in line with the knot before beginning the next exercise.

DON'T
DON’T
DON'T
DON’T
DO
DO

Keep the band tight and in line with the knot and you’ll be on your way to perfect form and the best results from each exercise.

Hope to see you at a Barre Mix class soon! Class times are Mondays, 7:45 pm at Studio 21 – 21 Elm St. in Swampscott and Wednesdaysm 7:00 pm at Taj Pilates – 1 Spring St. in Marblehead.

Cheers, Michelle